Shopify Shipping Integration Guide
Updated 2026-08-039 min readE-commerce shipping
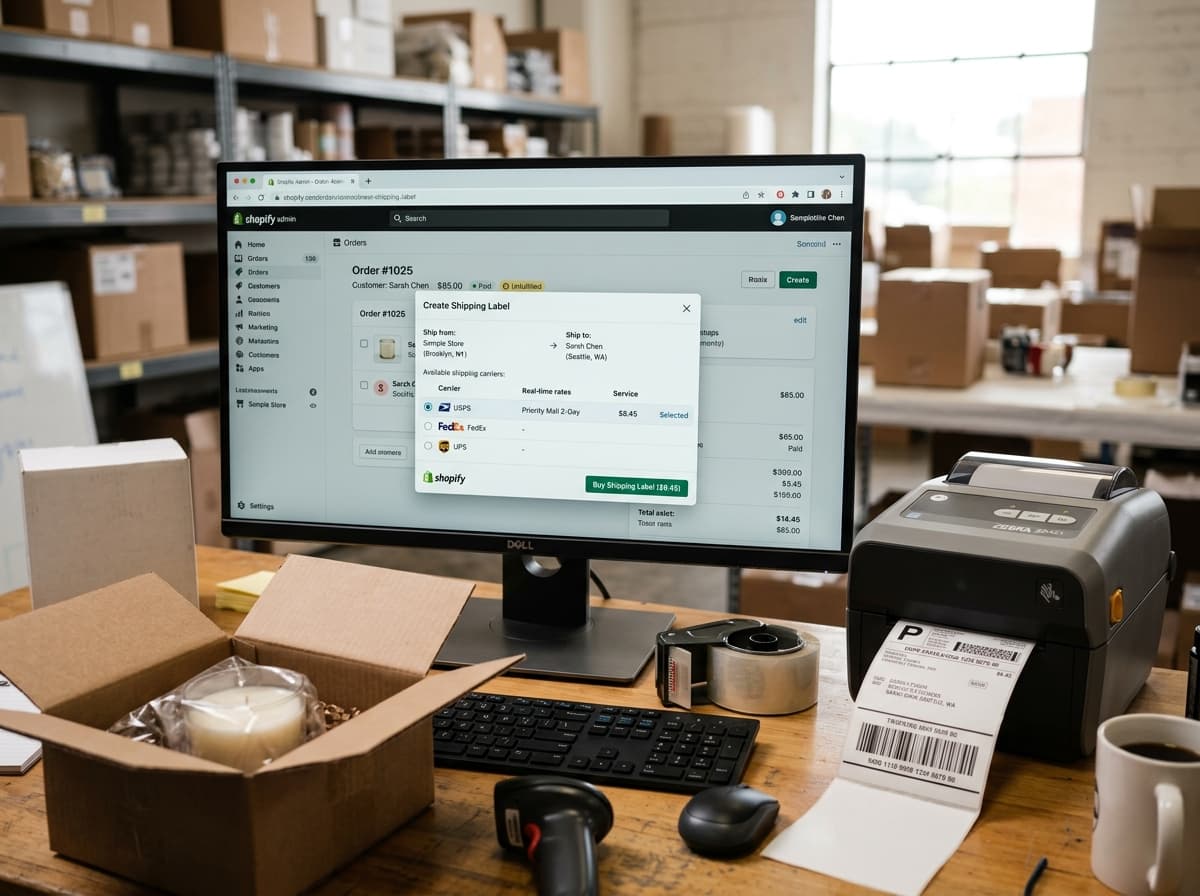
Shipping in Shopify is built from four layers stacked in a fixed order: product weights and dimensions, shipping profiles, zones inside those profiles, and rates inside those zones. Set them up in that order and everything works. Set them up out of order and rates disappear at checkout for reasons that are hard to trace.
Most shipping problems in a Shopify store are configuration problems at one of those four layers, not carrier problems.
Layer one: product data
Nothing downstream works without accurate weights.
Every product variant needs a weight, and it should be the shipped weight — the item plus its packaging — not the bare product weight. A shirt weighing 200 grams ships at nearer 280 once it is bagged and labelled.
Set dimensions too. They are optional for weight-based rules but required the moment you use carrier-calculated rates, because the carrier prices on dimensional weight as well as scale weight. A store with no dimensions set gets quoted on a default package size, and the quote will not match the invoice. Our guide on calculating package dimensions covers how that figure is derived.
Two settings that get missed. Mark digital and service products as not requiring shipping, or an order containing one will demand a shipping address and a rate. And mark products correctly for customs — country of origin and HS code — if you ship internationally, because those fields populate the customs declaration automatically.
Get this layer right before touching rates. Auditing weights across a catalogue is dull, and it is the single highest-value hour in the whole setup.
Layer two: shipping profiles
A profile is a group of products that share shipping rules. Every store has a general profile covering everything by default, and you add custom profiles for products that need to behave differently.
Custom profiles exist for three situations, and only those three are worth the complexity.
Heavy or oversize items that need their own rates, because a single flat rate cannot cover both a phone case and a bookshelf.
Products shipped from a different location, including anything on dropship or third-party fulfilment. A product assigned to a supplier's location is rated from that location's zones.
Products with genuinely different delivery constraints — perishables, hazardous goods, anything restricted to certain regions.
Everything else belongs in the general profile. Stores that build a profile per product category end up maintaining the same zones in eight places, and the eighth one is always the one that is wrong.
When an order contains products from more than one profile, Shopify calculates a rate for each profile and adds them together. That is the correct behaviour but it surprises customers, who see one order and two shipping charges. If it happens often, consolidate the profiles.
Layer three: zones
A zone is a set of countries, states or regions that share rates. Inside each profile you define zones, and inside each zone you define rates.
A destination not covered by any zone gets no rate at all, and the customer cannot complete checkout. This is the leading cause of the "no shipping rates available" message and it is usually a missing state, a missing territory, or a country added to the store's selling regions but never added to a zone.
Build zones from your actual order data rather than a map. A typical structure:
| Zone | Contents | Why separate |
|---|---|---|
| Domestic — standard | Main mainland regions | Base rates apply cleanly |
| Domestic — remote | Islands, highlands, offshore territories | Carriers surcharge these heavily |
| Near international | Neighbouring countries or trading bloc | Cheap lanes, often duty-free |
| Rest of world | Everything else you sell to | Highest rates, duty applies |
The remote zone matters more than people expect. A handful of postcodes will attract remote area surcharges that exceed the margin on the order entirely, and our guide on hidden shipping fees covers how large those get.
Shopify's zones work at country and state level natively. Postcode-level control usually needs an app.
Layer four: rates
Three types, and they can coexist in the same zone.
Flat rate. One price, optionally with price-based or weight-based conditions attached. Simple, predictable, and the right choice for a narrow catalogue where everything weighs roughly the same.
Weight-based bands. You define ranges and a price for each. The bands must be contiguous — a gap between the 5 kg and 5.1 kg bands means an order landing in the gap gets no rate. Check the boundaries after building them.
Carrier-calculated rates. Shopify queries the carrier live and returns their real price. The rate matches what you will pay, and it updates when the carrier changes its pricing. This is the most accurate option and it removes the guesswork entirely.
Carrier-calculated rates depend on accurate weights and dimensions, and they fail silently to a fallback rate if the carrier's system does not respond. Always define a backup flat rate in the same zone so a timeout does not empty the checkout.
The free shipping rate is a flat rate of zero with a minimum order value condition. That is the whole mechanism — there is no separate free shipping feature. Our guide on offering free shipping without losing profit covers where to set the threshold.
Connecting a carrier account
You can either use Shopify's own negotiated rates or connect your own carrier account.
Shopify's built-in rates are discounted below retail and require nothing to set up. For a store shipping modest volume, they are usually better than anything you could negotiate directly.
Connecting your own account makes sense once you have negotiated rates that beat them, which typically happens in the hundreds of parcels per month rather than the dozens. Enter the account credentials in the shipping settings and the carrier's rates replace the defaults for that zone.
Whichever you use, the carrier options for most stores come down to USPS, UPS, FedEx and DHL, with Royal Mail, Canada Post or Australia Post depending on where you ship from. Our guide on the best courier for e-commerce sellers covers which fits which profile.
Fulfilment and label printing
When an order arrives, fulfilling it does three things at once: it buys a label, it marks the order shipped, and it triggers the customer notification.
Buying the label inside Shopify keeps everything connected. The tracking number is attached to the order automatically, the carrier is identified, and the customer email goes out with a working link. Buying labels outside Shopify means entering the tracking number manually, and manual entry is where numbers get mistyped or forgotten.
For volume, batch fulfilment processes many orders at once and prints a label sheet. Set the packaging defaults first — Shopify stores a list of your box sizes and uses them to estimate dimensional weight, and the defaults it ships with will not match your actual boxes.
Partial fulfilment matters for multi-item orders. Fulfilling a subset sends a notification covering only those items, which prevents the common support ticket where a customer receives one parcel of three and assumes the rest is missing.
Making tracking reach the customer
This is where most stores lose the thread, and it is entirely mechanical.
The tracking number must be present on the fulfilment record. If it is, the shipping confirmation email includes it and the order status page shows the tracking link. If the number was entered without selecting the carrier, the link often points nowhere useful.
Then set expectations about the gap. A tracking number is issued when the label is created, and the carrier usually has nothing to show for 24 to 48 hours until the parcel is physically scanned into the network. Customers who check immediately see nothing and open a ticket.
One sentence in the dispatch email prevents most of those: say that the number becomes active once the carrier collects the parcel, and roughly when that will be. Our guide on why a tracking number says not found explains the mechanism if you want to link customers to a fuller answer.
For longer journeys, expect a second wave of tickets when tracking goes quiet mid-route. That is normal on international lanes and our guide on tracking that is not updating covers how long a gap should last before it means anything.
Customers can check any carrier's number on our home page without needing to know which carrier is holding it.
Handling returns and exchanges
Return shipping is configured separately from outbound, and stores routinely finish the outbound setup and forget it exists.
Shopify can generate a return label against the original order, which keeps the return connected to the order record and lets you see the item coming back. That visibility is worth more than it sounds — a refund issued before the item arrives, on a return that never ships, is a pure loss.
Two settings decide the economics. Whether the customer or the store pays, and whether the label is fixed-price or weight-based. Use fixed-price wherever possible, because customers repack into whatever box they have and a weight-based return label invites a reweigh adjustment against your account weeks later.
Set a return window and enforce it in the settings rather than by hand. Manual enforcement drifts into inconsistency, and inconsistency in returns policy generates more disputes than a strict policy does.
Apps, and when you actually need one
The built-in setup covers a simple catalogue shipping domestically. Four situations justify an app.
Postcode-level rules, which the native zones cannot express. If your remote surcharges are driven by specific postcodes rather than whole regions, this is the common reason to add one.
Multi-carrier label buying, where you want to compare live rates across several carriers per order and pick the cheapest automatically.
Rules the rate types cannot express — per-item shipping, dimensional rules, delivery date selection at checkout, or rates that vary by product tag.
Volume operations, meaning batch printing, pick lists, scan-to-verify and warehouse workflows.
If none of those apply, the native setup is faster and there is one fewer thing to break during a checkout upgrade.
International setup
Three extra things need attention before you sell abroad.
Customs information on every product: country of origin and HS code. Shopify populates the declaration from these, and a missing or wrong code is a leading cause of a parcel being held. Our guide on what an HS code is explains how to find the right one.
Duty handling. Decide whether the buyer pays on arrival or you collect at checkout. Collecting upfront costs more but removes the single worst customer experience in cross-border retail — a demand for payment at the door on a parcel already paid for. Our guides on customs duties and avoiding customs delays cover the trade-off.
Separate rates per region. One international rate across all destinations either loses money on distant markets or prices you out of near ones.
When rates do not appear
A short diagnostic, in the order that finds it fastest.
Check the destination is inside a zone in every profile the order touches. Check the product has a weight, if any rule is weight-based. Check the weight bands have no gap at the boundary. Check the order does not exceed a maximum on every rate in the zone. Check whether products from two profiles are being combined and one of them has no matching zone.
Five checks, and the first two find it most of the time.
Getting it live
Set weights and dimensions on every variant. Keep one profile unless you have a genuine reason for a second. Build zones from your order history, with remote destinations separated. Add carrier-calculated rates with a flat backup behind them. Buy labels inside Shopify so tracking attaches itself. Then place a test order to a remote postcode and an international address, because those are the two that break.
Once it works, the maintenance is small: re-check weights when you add products, and re-check rates each January when carrier pricing changes.